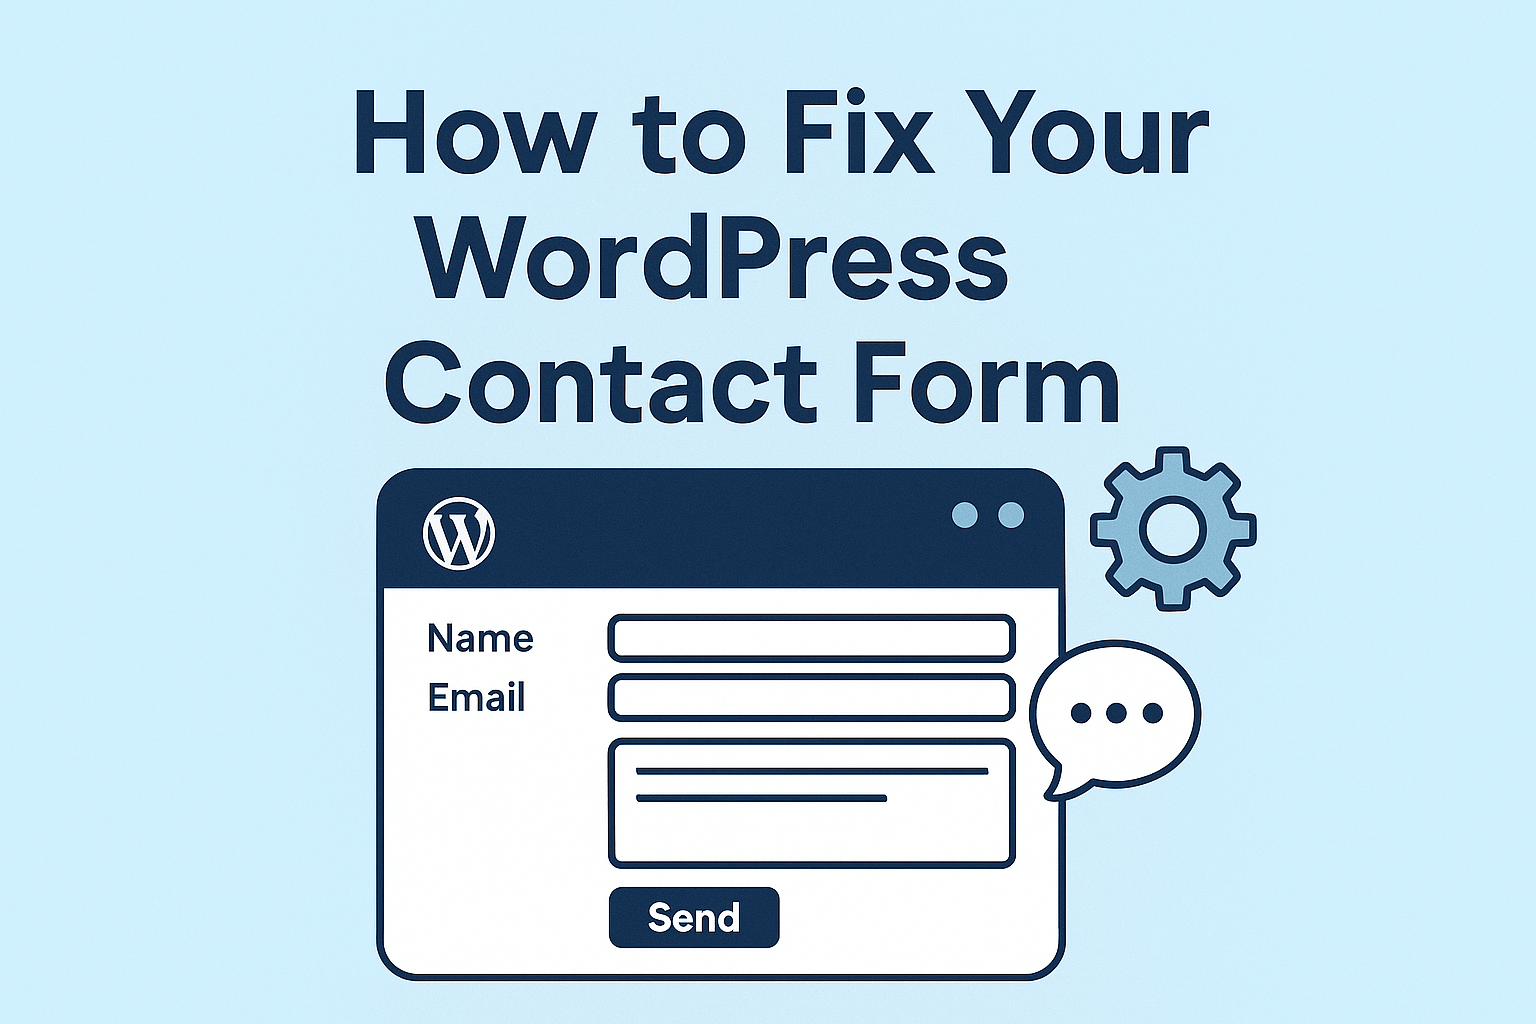
Have you ever visited a website, filled out a contact form, clicked “Submit”… and then wondered if your message disappeared into the digital void? As a web developer, I’ve seen countless business websites with non-functional contact forms—a silent killer that costs them customers and opportunities daily.
Here’s the truth: A broken WordPress contact form isn’t just a minor inconvenience—it’s a business liability.
In this guide, I’ll show you exactly how to make your WordPress contact form actually work, ensuring no customer inquiry ever goes unanswered again.
Table of Contents
Why Your WordPress Contact Form Isn’t Working
Before diving into the solution, let’s understand why contact forms fail in the first place.
Many WordPress users assume that installing a contact form plugin is all it takes. What they don’t realize is that WordPress needs proper email configuration to deliver form submissions to your inbox.
Common reasons your form submissions aren’t reaching you:
- Missing SMTP configuration: WordPress needs a proper mail service to send emails
- Web hosting limitations: Many hosts restrict PHP mail functions
- Incorrect email settings: Your form might be using the wrong destination email
- Plugin conflicts: Other plugins might interfere with form functionality
- Form setup errors: The form itself might not be properly configured
Most importantly, your contact form appears to work normally to your visitors—they fill it out, click submit, and see a “success” message. Meanwhile, you’re wondering why you never hear from potential customers!
The Solution: Properly Configure WordPress Email Delivery
The secret to fixing a non-functional WordPress contact form is configuring SMTP (Simple Mail Transfer Protocol)—the standard protocol for sending emails across the internet.
Here’s my step-by-step process to make your form work properly:
Step 1: Set Up Your Webmail Account
Before anything else, ensure your domain’s webmail is properly configured:
- Log into your hosting control panel
- Navigate to the Email or Webmail section
- Create or verify your professional email (e.g., contact@yourdomain.com)
- Make note of important details:
- Email username
- Password
- SMTP hostname (usually mail.yourdomain.com)
- SMTP port (typically 465 for SSL/TLS connections)
Pro tip: Create a dedicated email address like “contact@yourdomain.com” or “info@yourdomain.com” specifically for form submissions.
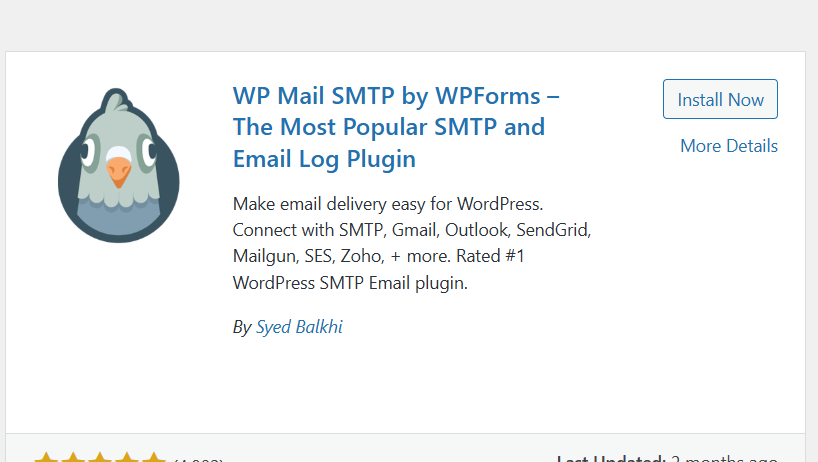
Step 2: Install the WP Mail SMTP Plugin
Now let’s install the plugin that will connect your WordPress site to your email server:
- Go to your WordPress dashboard
- Navigate to Plugins → Add New
- Search for “WP Mail SMTP”
- Look for the plugin by WPForms (usually at the top of results)
- Click “Install Now” then “Activate”
Step 3: Configure the WP Mail SMTP Plugin
This is the critical step where most website owners make mistakes. Follow these instructions carefully:
- Go to WP Mail SMTP settings (find it under Settings → WP Mail SMTP)
- Under “From Email,” enter your professional email address (contact@yourdomain.com)
- Under “From Name,” enter your business or website name
- In the “Mailer” section, select “Other SMTP”
- Fill in these SMTP settings with information from your hosting provider:
- SMTP Host: Enter your mail server hostname (e.g., mail.yourdomain.com)
- Encryption: Choose “SSL” (port 465) or “TLS” (port 587) as recommended by your host
- SMTP Port: Enter 465 for SSL or 587 for TLS
- Authentication: Set to “On”
- SMTP Username: Your full email address (e.g., contact@yourdomain.com)
- SMTP Password: Your email account password
Troubleshooting tip: If you’re unsure about your SMTP settings, check your hosting provider’s documentation or contact their support team.
Step 4: Test Your Email Configuration
After saving your settings, it’s crucial to verify everything works:
- In the WP Mail SMTP settings page, click the “Email Test” tab
- Enter an email address where you want to receive the test
- Click “Send Email”
- Check if the test email arrives in your inbox
If the test fails, double-check your settings, especially:
- Host name
- Port number
- Username format
- Password
Sometimes you need to use app passwords if you have two-factor authentication enabled.
Step 5: Connect Your Contact Form to Your Email
Now that your email delivery system works, let’s ensure your contact form sends submissions to the right place:
For most contact form plugins (Contact Form 7, WPForms, Elementor Forms, etc.):
- Navigate to your form settings
- Find the “Mail” or “Notifications” section
- Ensure the “To” field contains your properly configured email address
- Save your changes
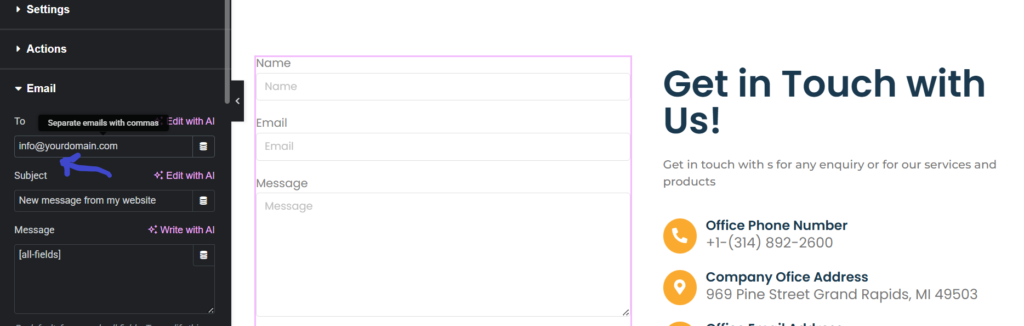
For the default form (as shown in my video tutorial):
- Edit your form
- Go to Actions → Email
- In the “To” field, enter your webmail address
- Add a subject line like “New message from [your website name]”
- Save changes
Step 6: Test Your Contact Form
The final step is to verify the entire process works:
- View your contact form page on your live site
- Fill out the form with test information
- Submit the form
- Check your email to confirm you received the submission
This testing step is crucial—never assume your form works without verifying it yourself!
Beyond Basic Setup: Contact Form Best Practices
Once your WordPress contact form is working properly, consider these additional improvements:
1. Add Form Validation
Ensure your forms have proper validation to prevent spam and incomplete submissions:
- Required fields for essential information
- Email format validation
- Character limits where appropriate
2. Use Clear Success Messages
When a visitor submits your form, show them a clear confirmation message so they know their message was sent successfully.
3. Consider Anti-Spam Measures
Protect your inbox from spam by implementing:
- CAPTCHA or reCAPTCHA
- Honeypot fields
- Akismet integration
4. Optimize Form Fields
Keep your forms simple and focused:
- Only ask for information you truly need
- Group related fields together
- Use clear labels and placeholders
5. Make Forms Mobile-Friendly
Ensure your forms work well on mobile devices:
- Responsive design
- Appropriately sized input fields
- Touch-friendly submit buttons
Connecting Your Webmail to Gmail (Optional)
If you prefer to receive form submissions in your Gmail inbox rather than logging into your webmail interface, you can set up email forwarding:
- Log into your webmail account
- Find the “Forwarding” or “Filters” section
- Add your Gmail address as a forwarding address
- Configure forwarding rules as needed
You can also set up Gmail to fetch emails from your webmail account using POP3 or IMAP. I’ll cover this in a future tutorial.
Why This Fix Matters for Your Business
A functioning contact form isn’t just a technical detail—it’s a critical business asset. Consider these benefits:
| Benefit | Impact on Your Business |
| Capture Leads | Never miss potential customers trying to reach you |
| Customer Service | Allow existing customers to get help easily |
| Professional Image | Shows attention to detail and technical competence |
| Visitor Trust | Builds confidence in your online presence |
| Feedback Collection | Gather valuable insights from website visitors |
Common Troubleshooting Issues
Despite following the steps above, you might encounter issues. Here are solutions to common problems:
Form Works in Testing But Not in Production
If your form works when you test it but visitors report issues:
- Check if your hosting uses different email settings in production
- Verify that your firewall isn’t blocking SMTP connections
- Test from different networks and devices
Emails Going to Spam
If form submissions are landing in your spam folder:
- Ensure your domain has proper SPF, DKIM, and DMARC records
- Use a professional email address with your domain name
- Configure a clear subject line for form submissions
Slow Form Submission Times
If your form takes too long to submit:
- Your SMTP server might be slow—consider a dedicated email service like SendGrid or Mailgun
- Optimize any images or attachments in the form
- Check your overall site speed which might affect form performance
Conclusion: Don’t Let Your Contact Form Cost You Business
A non-functioning contact form is like having a storefront with a locked door—customers want to enter, but they simply can’t reach you.
By following this step-by-step tutorial, you’ve ensured that every visitor who wants to contact you can actually do so. This simple fix could be the difference between winning a major client and losing them to a competitor.
Remember: Test your form regularly (at least monthly) to ensure it continues working properly, especially after WordPress or plugin updates.
Next Steps: Enhance Your WordPress Website
Now that your contact form is working properly, why not improve other aspects of your WordPress site?
- Check out my tutorial on making your WordPress site load faster
- Watch the video version of this tutorial for a visual walkthrough
- Subscribe to my channel for more WordPress tips and techniques
Have you experienced issues with your WordPress contact form? Did this tutorial help you fix them? Let me know in the comments below!